For contractors and project managers working across British Columbia, a Traffic Management Plan BC is not just a permit requirement, it is a critical document that determines whether your project proceeds smoothly or gets delayed.
Most project delays are not caused by slow approvals but by technical gaps in traffic management plans. Incorrect taper lengths, improper signage placement, or missing safety considerations can lead to rejections, revision cycles, and costly downtime.
On the other hand, a properly designed and compliant plan aligned with BC Traffic Management Manual (TMM) 2020 and authority expectations can be approved within standard timelines and keep your project on schedule.
In this guide, we break down the engineering principles, compliance requirements, and real-world review criteria behind work zone design, signage, and safety planning in British Columbia.
How Work Zone Design Is Defined Under BC Traffic Standards
In British Columbia, all traffic management plans must align with the BC Traffic Management Manual (TMM) 2020, along with municipal and provincial (MoTT) requirements.
Work zone design follows a structured system built to:
- Maintain safe vehicle movement
- Protect workers and pedestrians
- Provide clear and standardized communication
- Reduce traffic disruption
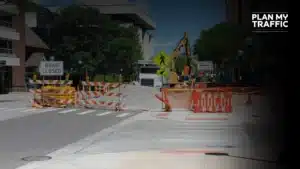
A compliant work zone is divided into five functional zones, each with specific technical requirements:
1. Advance Warning Area
Provides early notice to drivers using signs such as “Road Work Ahead.”
2. Transition Area
Guides vehicles out of their normal path using tapers and channelizing devices.
3. Buffer Space
A safety zone separating traffic from workers. No work or equipment is allowed here.
4. Work Area
The active construction or maintenance zone.
5. Termination Area
Allows traffic to safely return to normal conditions.
Each of these zones must be clearly defined with dimensions, device placement, and signage sequencing. Missing or incorrectly designing even one zone is a common reason for plan rejection.
Why Work Zone Design Directly Affects Permit Approval Timelines
Approval authorities such as municipalities and MoTT evaluate Traffic Management Plans based on technical completeness and compliance, not just intent.
Key review criteria include:
- Correct BC TMM layout selection
- Accurate taper and buffer dimensions
- Proper signage sequence and spacing
- Safe pedestrian and cyclist accommodation
- Emergency vehicle access
Real Impact of Poor Design
- Approval delays: 5–10+ business days due to revisions
- Idle resources: Crews and equipment waiting on-site
- Increased costs: Rescheduling and overtime
- Rejection risk: Full re-submission required
Reality:
Most delays happen during revision cycles not during initial review.
An accurate plan significantly reduces back-and-forth and accelerates approval.
Designing Lane Closures, Tapers & Buffer Zones (BC TMM 2020 Technical Requirements)
Lane closure design is one of the most critical engineering aspects of a Traffic Management Plan BC and is closely scrutinized during review.
Lane Closure Justification (Mandatory for Approval)
Authorities require clear justification for lane closures:
- Why is the closure necessary?
Lane closure is required when work activities cannot be safely performed within the available shoulder or without encroaching into live traffic lanes. This typically applies to excavation, utility work, or equipment placement where minimum safety clearance cannot be maintained. - Can work be completed without it?
Authorities expect evaluation of alternatives such as shoulder work, lane narrowing, or temporary shifts. If safe working conditions and required clearances cannot be achieved without affecting traffic lanes, the closure must be technically justified. - Can work be shifted to off-peak hours?
For high-volume or arterial roads, authorities often require work during off-peak or night hours to minimize traffic disruption. If this is not feasible due to safety, noise restrictions, or project constraints, a clear explanation must be provided.
Weak or missing justification is a frequent reason for rejection, especially on high-traffic corridors.
Taper Length Design (Based on Speed & Conditions)
Taper length must align with 0, considering:
- Posted speed
- Lane width
- Road classification
Typical taper ranges:
- 50 km/h roads: ~50–70 meters
- 60 km/h roads: ~60–90 meters
- 70+ km/h roads: 90+ meters
Short tapers reduce driver reaction time and increase collision risk. Plans with incorrect or missing taper dimensions are commonly rejected.
Buffer Zone Requirements (Safety-Critical)
Buffer zones must:
- Remain completely clear of workers and equipment
- Be sized according to speed and conditions
- Provide a clear safety margin
Any encroachment into the buffer zone is treated as a serious safety violation.
Transition Design (Traffic Flow Logic)
The transition area must:
- Gradually shift traffic
- Maintain smooth flow
- Use proper cone spacing and alignment
Improper transitions lead to:
- Driver confusion
- Sudden braking
- Increased accident risk
Traffic Sign Selection & Placement Rules (BC TMM C-Series Standards)
Signage is one of the most strictly reviewed components in a Traffic Management Plan BC.
All signs must comply with BC TMM 2020 C-series standards.
Approved Sign Selection
- C-001: Road Work Ahead
- C-004: Lane Closure Ahead
- C-007: Flagger Ahead
- C-027: Construction Ends
Using non-standard or incorrect signs leads to immediate rejection.
Sign Spacing & Placement
- Higher speeds → greater spacing required
- Signs must be placed in sequence:
- Advance warning
- Transition guidance
- Termination
Signs must be:
- Clearly visible
- Properly aligned
- Free from obstructions
Visibility & Retroreflectivity
All signs must:
- Be visible in day and night conditions
- Use retroreflective materials
- Be installed at correct height and angle
Poor visibility is often flagged during both plan review and on-site inspections.
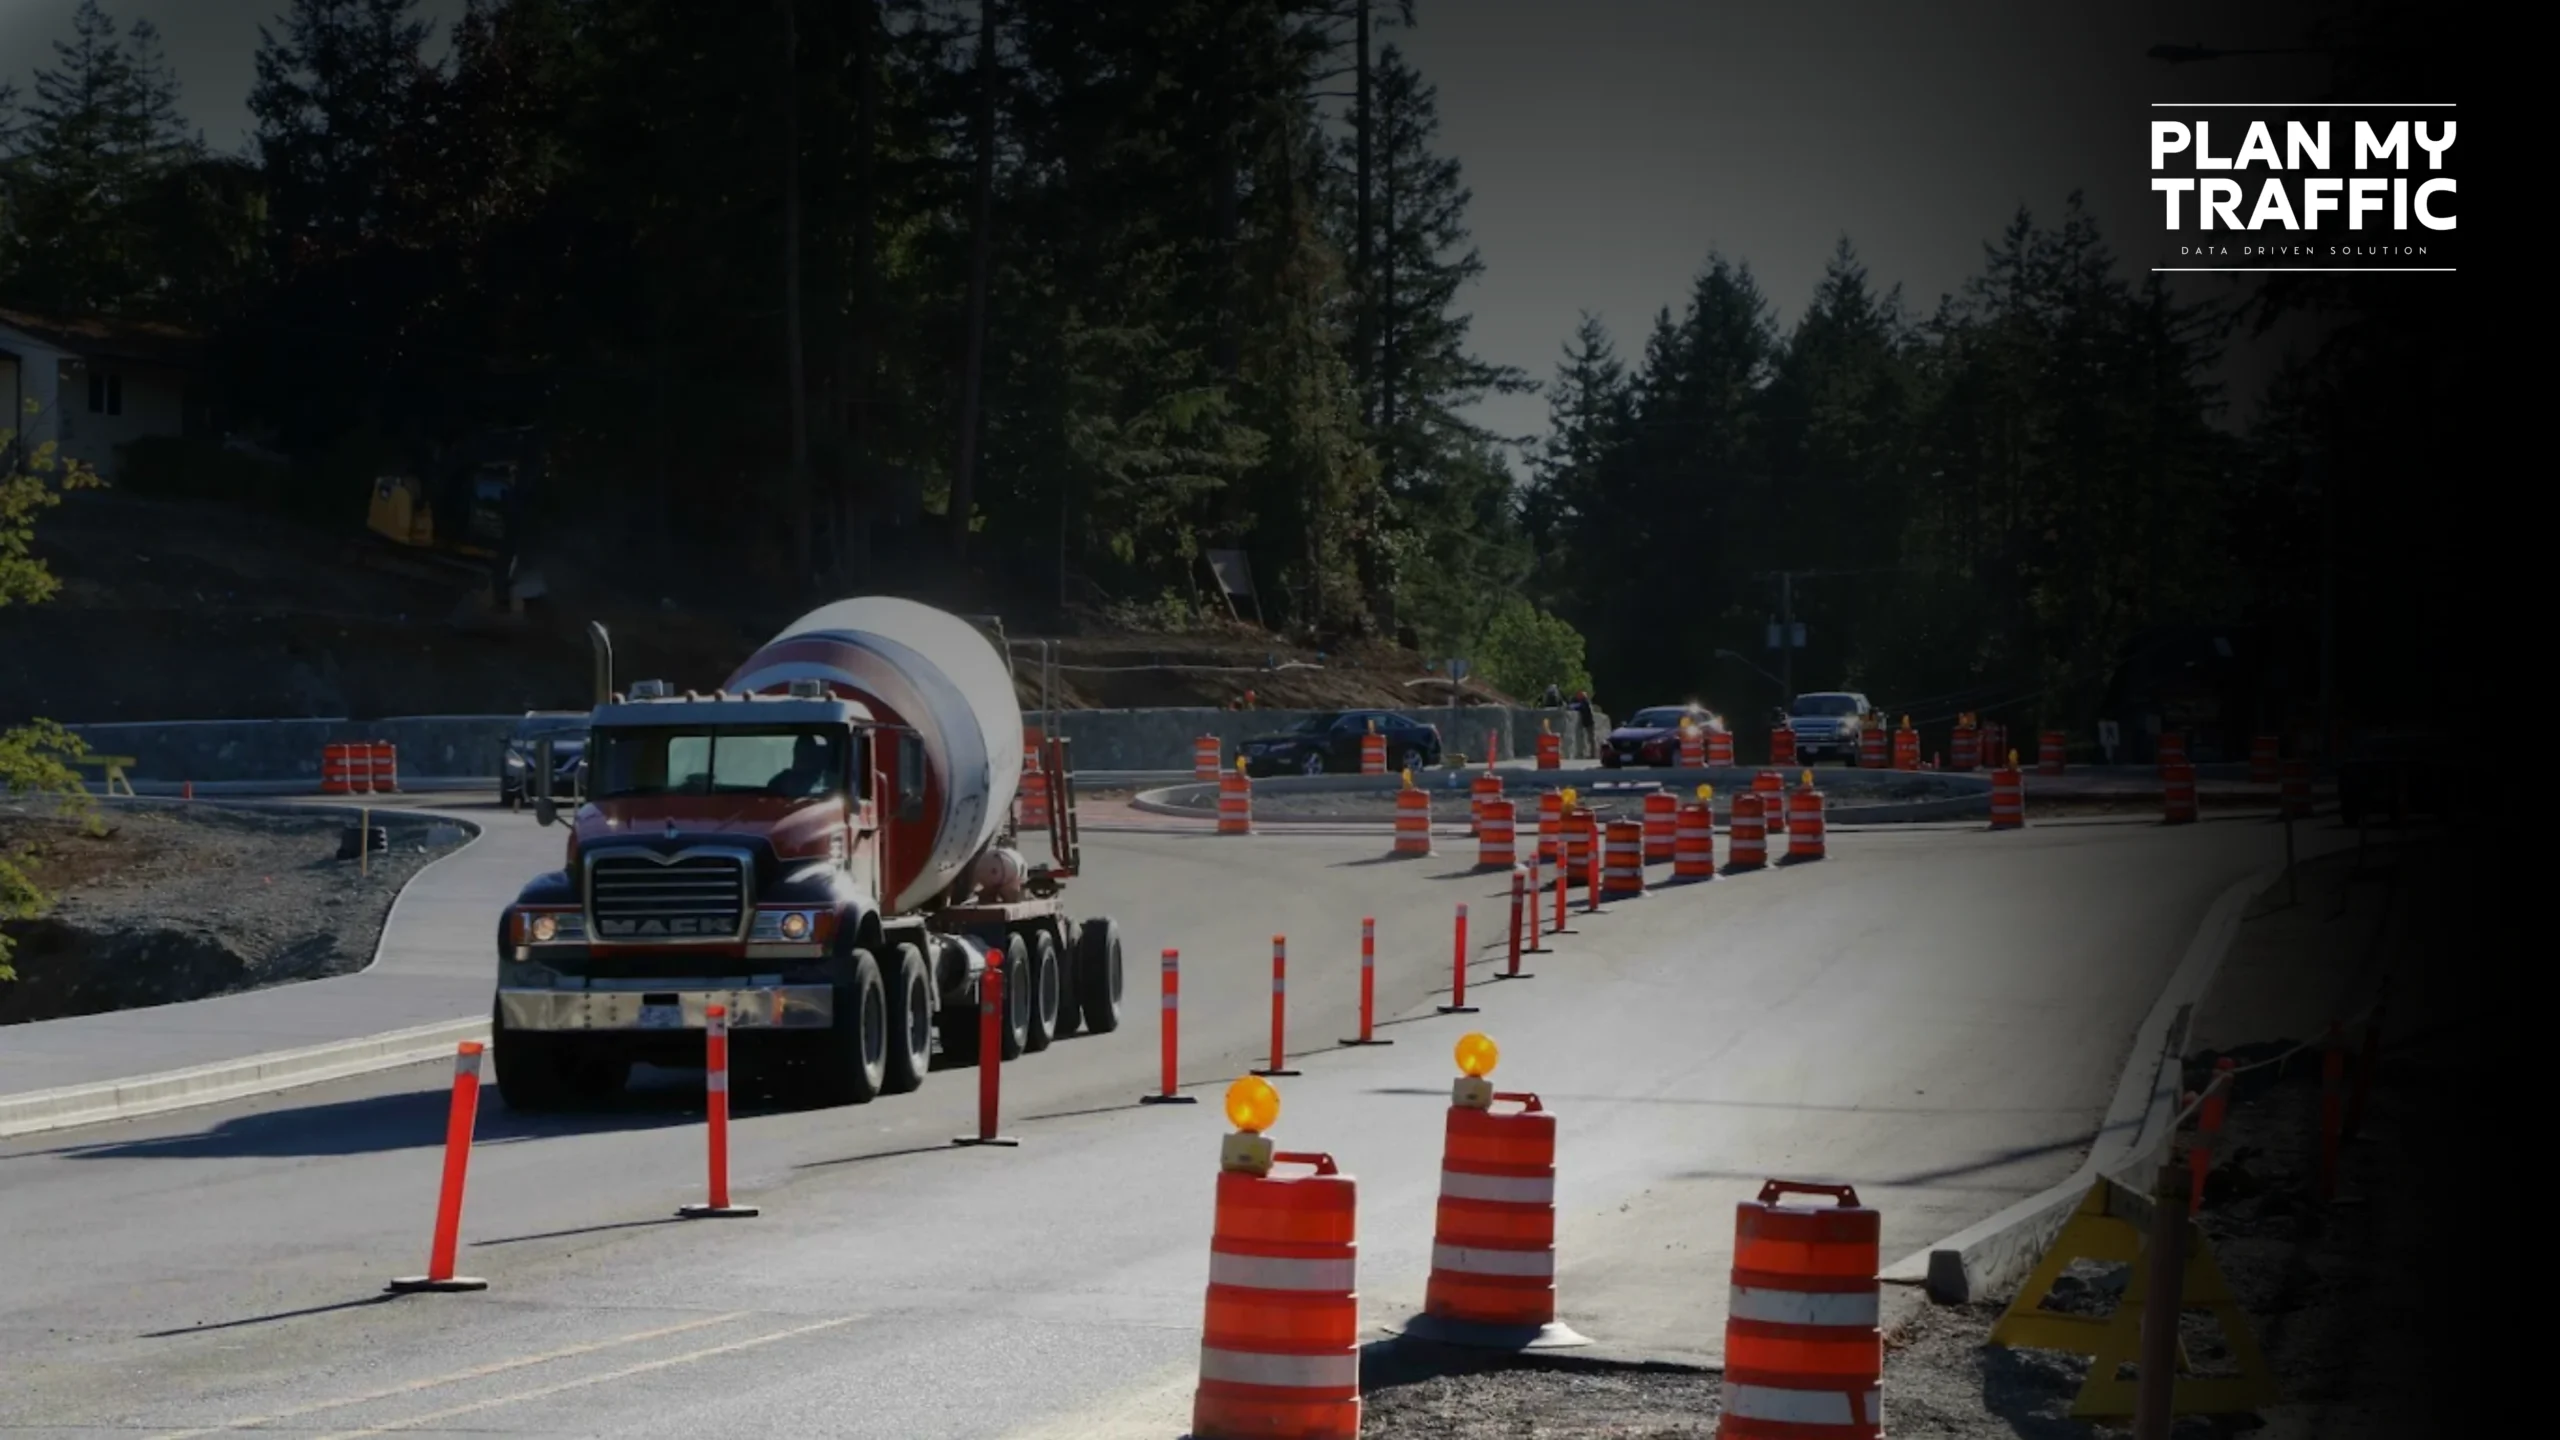
Arrow Boards & Traffic Control Devices
For lane closures, additional devices may include:
- Arrow boards
- Cones or drums
- Temporary barriers
Incorrect device usage or spacing can make the plan non-compliant.
Critical Compliance Elements Reviewed by BC Authorities
Authorities follow a structured checklist when reviewing Traffic Management Plans.
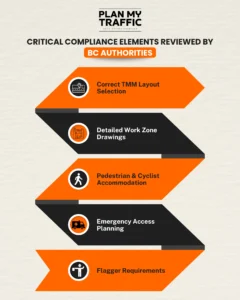
1. Correct TMM Layout Selection
Plans must match the correct BC TMM layout figure based on:
- Speed
- Road type
- Lane configuration
2. Detailed Work Zone Drawings
Must include:
- All 5 zones
- Exact measurements
- Device placement
Missing dimensions = delayed approval.
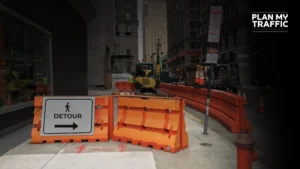
3. Pedestrian & Cyclist Accommodation
Required in most urban areas:
- Safe alternate routes
- Barrier protection where needed
- Accessibility compliance
4. Emergency Access Planning
Plans must allow:
- Continuous emergency vehicle access
- Adequate lane width
5. Flagger Requirements
- Certified personnel (WorkSafeBC)
- Clearly defined positions
Not sure if your plan includes all required elements? Get a free review, we’ll check it against BC standards within 24 hours.
Where Most Traffic Plans Fail BC Review Standards
Most delays are caused by technical errors, not administrative issues.
1. Incorrect TMM Layout Application
Using the wrong layout for speed or road type.
2. Missing Dimensions
No taper length, buffer size, or sign spacing shown.
3. Weak Justification
No clear reasoning for lane closures.
4. Improper Sign Sequencing
Missing early warning signs.
5. Lack of Real-World Feasibility
Plans fail when they ignore actual site conditions.
Real Example:
In a Surrey project, a TCP was rejected because the designed taper could not physically fit within the available road length.
Avoid rejection before it happens. Talk to our team – free consultation, no commitment.
Get Expert Help Today
How to Build a Permit-Ready Traffic Management Plan in BC
Follow this structured approach:
Step 1: Conduct Site Assessment
- Traffic volume
- Speed
- Road conditionsA detailed site assessment forms the foundation of your Traffic Management Plan. Evaluate peak vs. off-peak traffic flow, existing lane widths, nearby intersections, and pedestrian activity. These factors directly influence layout selection, taper design, and safety requirements.
Step 2: Select Correct TMM Layout
Match your scenario precisely. Choose the appropriate layout from BC TMM 2020 based on speed, road classification, and work type. Using an incorrect layout is one of the most common reasons for rejection, as each diagram is designed for specific traffic and site conditions.
Step 3: Design Work Zone Layout
Include all zones and dimensions. Your layout must clearly show all five work zone areas with accurate measurements for taper lengths, buffer zones, and device spacing. Ensure the design reflects real site constraints and is practical for implementation on the ground.
Step 4: Add Signage & Devices
Ensure BC compliance. Select only approved C-series signs and ensure correct sequencing, spacing, and visibility. Include channelizing devices, arrow boards, or barriers as required, and align placement with speed-based guidelines to maintain driver awareness and safety.
Step 5: Include Safety Planning
Pedestrian + emergency access. Plan for safe pedestrian routing, especially in urban areas, with clear detours and barrier protection where needed. Ensure continuous emergency vehicle access by maintaining adequate lane width and unobstructed paths at all times.
Step 6: Technical Review Before Submission
Cross-check all dimensions against BC TMM 2020 tables and figures. Verify that all elements – taper lengths, buffer zones, signage spacing, and layout selection — strictly match BC standards. Even small discrepancies or missing details can result in revision requests and delay the approval process.
Step 7: Submit to Correct Authority
Confirm whether your project falls under municipal jurisdiction or Ministry of Transportation and Transit (MoTT) authority. Submit the plan with all required documents and ensure formatting, clarity, and completeness to avoid unnecessary back-and-forth.
A well-prepared plan significantly increases your chances of first-time approval.
Conclusion
Need a Traffic Management Plan that gets approved the first time?
Get a professionally designed, permit-ready plan tailored to BC standards.
Request your free quote today and avoid costly delays.
FAQs
1. What is a Traffic Management Plan in BC?
A Traffic Management Plan (TMP) in British Columbia is a detailed, site-specific document that outlines how traffic will be safely controlled around a work zone. It includes lane closures, signage layouts, taper lengths, safety zones, and pedestrian routing. The plan must comply with BC Traffic Management Manual (TMM) 2020, along with municipal or MoTT requirements, to ensure both safety and permit approval.
2. Why do traffic management plans get rejected in BC?
Traffic management plans are typically rejected due to technical errors rather than administrative issues. Common reasons include incorrect TMM layout selection, missing taper or buffer dimensions, improper signage placement, lack of pedestrian planning, or weak lane closure justification. Even small non-compliance with BC standards can trigger revisions, leading to delays and additional project costs.